TWICE 2.0 — Coming soon.
Learn more about the update
You can print an order confirmation for every order. The confirmation can be customized using HTML, CSS and variables related to store and order.
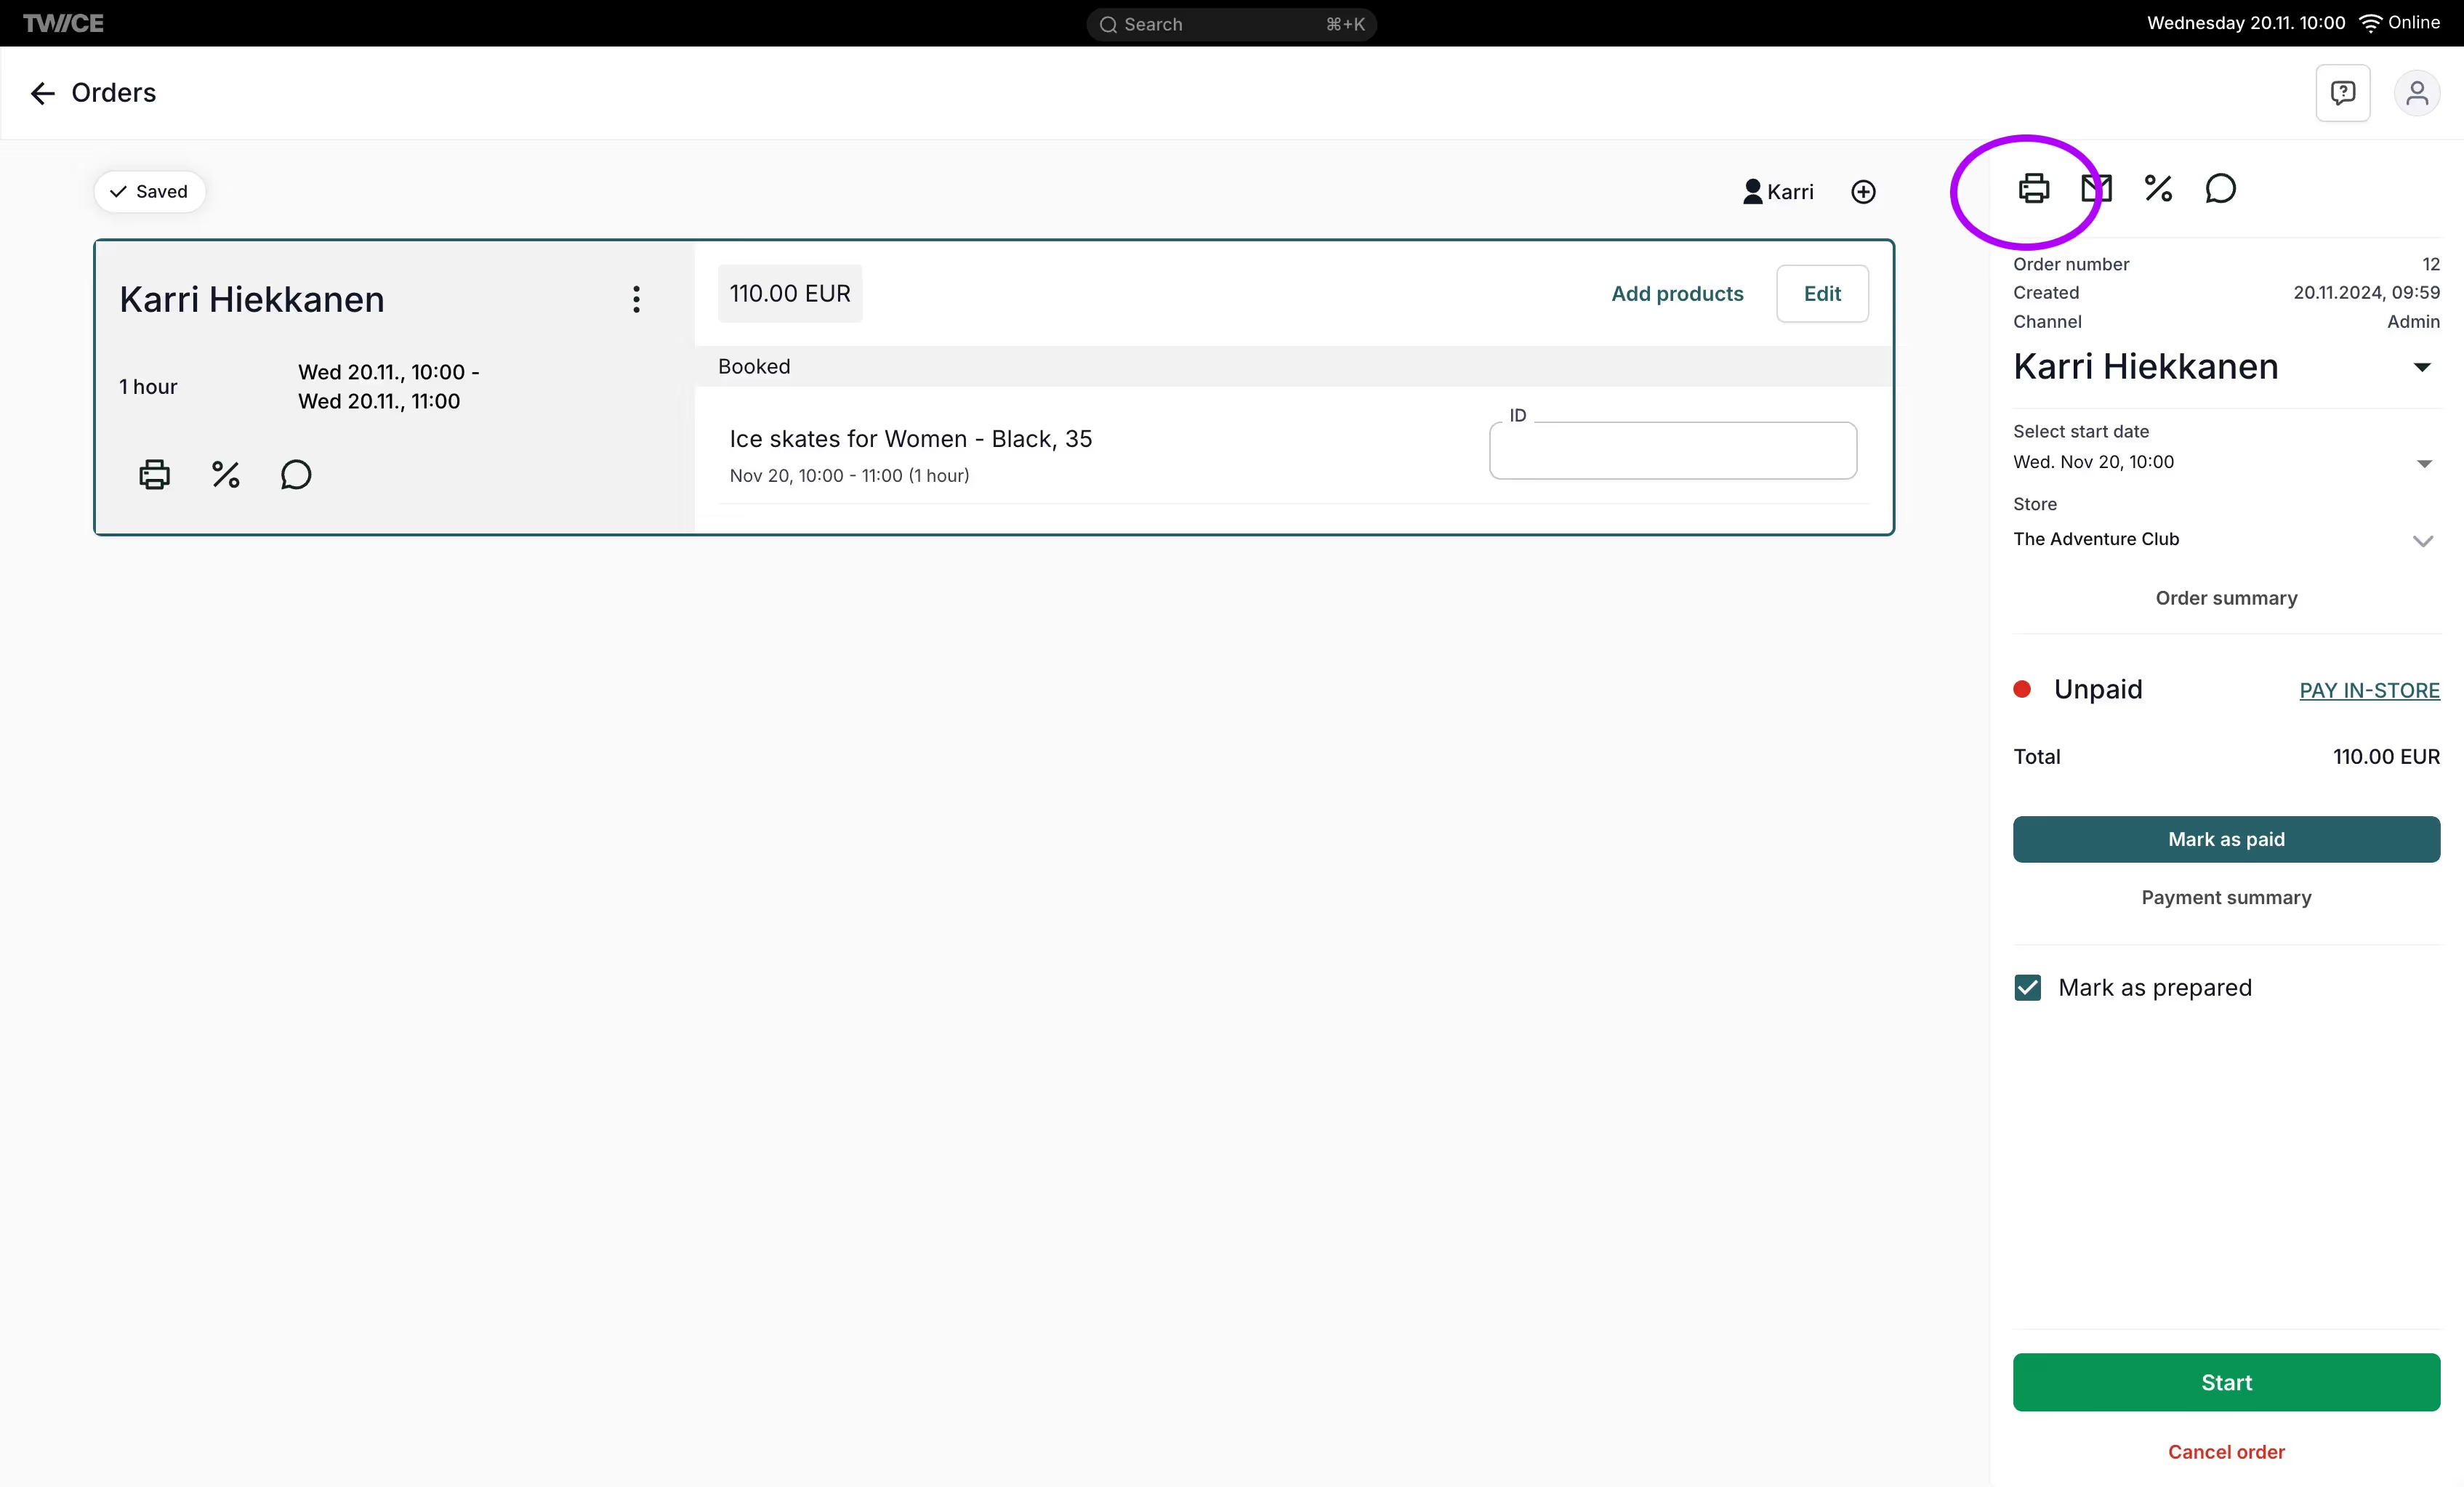
TWICE Commerce OS provides printable order confirmation document, which can be accessed from an order view.

Note: Document customization is available on Build, Wix Expand, Advance, and Enterprise plans. You can toggle off the TWICE -branding at the end of the document on Advance and Enterprise plans.
You can access the document editor through Settings > (1) Documents.

By default you are editing the template for the store you are in currently. If you want to edit different store's template you can do it on top of the page (2).
You can open the editor by clicking Edit (3).
Note: If you have multiple stores and you want to use the same template on some or all of them, you need to manually copy paste the template, as the documents are per location.
When you open the edit view, you can see two tabs: Editor (1) and Test Data (2) and the real-time preview (3).

Editor (1) enables you to customize the document using HTML, CSS and handlebar variables related to your store and the order.
Test data (2) is used when editing the template.
Real-time preview (3) displays the document in real time based on the edits in both Editor and/or Test Data.
You can edit the template on the Editor tab. You have the default template always available. You can revert back to it anytime, but be careful as the template editor doesn't save previous versions, only the current version after clicking Save.
Tip: use the default template on Editor and Test Data to understand how the default template is built.
To customize the template you can use basic HTML and CSS and utilize variables, which are built using Handlebar.js.
The variables are either single-value variables or arrays which need to be iterated using modifiers.
{{store.name}} - Name of the store.{{store.address}} - Address of the store.{{store.phone}} - Phone number of the store.{{store.email}} - Email address of the store.{{store.logo}} - URL of the store's logo.{{order.orderId}} - Unique identifier of the order.{{order.delivery.deliveryTo}} - Contains delivery information to the customer.{{order.delivery.deliveryTo.carrier}} - Carrier name for delivery.{{order.delivery.deliveryTo.timeslot.start}} - Start time of delivery.{{order.delivery.deliveryTo.timeslot.end}} - End time of delivery.{{order.delivery.deliveryTo.address}} - Delivery address.{{order.delivery.deliveryTo.price}} - Price of the delivery.{{order.delivery.deliveryFrom}} - Contains collection (pickup) information.{{order.delivery.deliveryFrom.carrier}} - Carrier name for collection.{{order.delivery.deliveryFrom.timeslot.start}} - Start time for collection.{{order.delivery.deliveryFrom.timeslot.end}} - End time for collection.{{order.delivery.deliveryFrom.address}} - Collection address.{{order.delivery.deliveryFrom.price}} - Price of the collection.{{order.liablePerson.firstName}} - First name of the primary contact.{{order.liablePerson.lastName}} - Last name of the primary contact.{{order.liablePerson.email}} - Email of the primary contact.{{order.liablePerson.phone}} - Phone number of the primary contact.{{firstName}} and {{lastName}} - First and last name of the person.{{productName}} - Name of the product.{{variantNames}} - Product variant details.{{productCodes}} - Product codes (e.g., SKU).{{pricing.subtotal}} - Subtotal price for the product.{{formattedDate}} - Display date for rental period.{{pricing.deposit}} - Deposit amount.{{name}} - Name of the package product (e.g., an accessory).{{variantNames}} - Variant details for package products.{{productCodes}} - Product codes for package products.{{order.pricing.subtotal}} - Subtotal of all items.{{order.pricing.total}} - Total price of the order.{{order.pricing.paid}} - Amount paid by the customer.{{order.pricing.deposit}} - Deposit amount (if applicable).{{order.pricing.taxIncluded}} - Boolean value to indicate if tax is included.{{order.pricing.taxes}} - Taxes on the order.{{rate}} - Tax rate (in %).{{price}} - Tax price.{{label.def}} - Label name of the custom field.{{value}} - Value of the custom field.Besides variables, you can also use Handlebars modifiers.
The {{#if}} modifier is used to conditionally render a block of HTML if a given variable is truthy (i.e., exists and is not empty). It works like a typical if statement in programming.
{{#if order.delivery}}
  <b>Delivery information:</b>
  {{order.delivery.deliveryTo.address}}
{{/if}}
Explanation: This block will be rendered if order.delivery exists.
The {{#each}} modifier is used to iterate over an array, rendering the inner block for each element.
{{#each order.persons}}
  <div>
    {{firstName}} {{lastName}}
  </div>
{{/each}}
Explanation: This will iterate over each person in order.persons, displaying their first and last name.
The {{#unless}} modifier works like the opposite of {{#if}}. It renders a block if the variable is falsy (i.e., does not exist or is empty).
{{#unless order.pricing.taxIncluded}}
  <div>
    <span>Subtotal</span>
    <span>{{order.pricing.subtotal}}</span>
  </div>
{{/unless}}
Explanation: This will render the subtotal row only if order.pricing.taxIncluded is false or doesn't exist.
You can also use @last inside the {{#unless @last}} to adjust the behavior based on if the item is the last one.
{{#if}} and {{#unless}}): Use these to control whether a specific part of the template should be displayed based on the availability or value of data.{{#each}}): Use this to loop through arrays like persons, products, or custom fields to dynamically display data that may vary in length.These modifiers make the template flexible, adapting to different orders and scenarios by only displaying relevant data.
Tip: To quickly edit or create new template, you can use AI chatbots, such as OpenAI's ChatGPT, especially the GPT4o with canvas.
If you are looking to use the order confirmation as a printable waiver, check out guide: How to create printable waiver form.